My Hero Academia Vigilantes Season 2 is coming soon on Crunchyroll, in January 2026
Vigilantes rise again—Season 2 hits Crunchyroll January 5.
Click Here to Add Gadgets360 As A Trusted Source

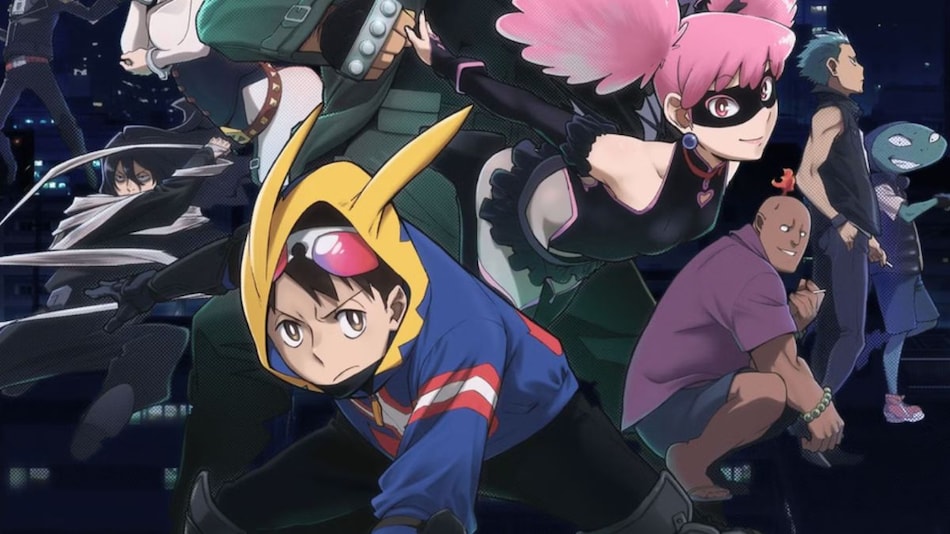
My Hero Academia: Vigilantes Season 2 is all set to premiere on January 5, 2026. Hideyuki Furuhashi writes it, and Betten Court illustrates it. The series revealed its new trailer, key visual, theme song and artists, along with its additional cast details at the Tokyo Comic Con 2025. It will be released on Crunchyroll, and here’s everything you need to know about the cast, plot and other details.
When and Where to Watch My Hero Academia: Vigilantes Season 2?
The new anime My Hero Academia: Vigilantes Season 2 is set to release in January 2026 on Crunchyroll.
Official Trailer and Plot
My Hero Academia Vigilantes is back with season 2 after a global anime series is leaping back into action. It is a prequel to Kohei Horikoshi’s famous My Hero Academia Series.
The story takes place five days before the events of the main series. It focuses on Koichi Hamawari, a young man helping people with his quirky, although not licensed, abilities. Koichi and a street performer, Kazuho Haneyama, get attacked by a group of thugs and are saved by Vigilante Knuckleduster. He recruits them to become Vigilantes themselves, taking the fight against crime into their own hands.


Cast and Crew
The anime is produced by Bones Film, directed by Kenichu Suzuki, Yasuke Kurada worked on the scripts, and Takahiko Yoshida designed the characters.
Reception
My Hero Academia Vigilantes Season 2 will premiere on Crunchyroll on January 5, 2026. As of now, there is no IMDB rating available.